
True backcountry survival in Canada is not about what you pack, but about mastering the technical systems required to neutralize specific, regional threats.
- Success depends on shifting from a checklist mentality to a framework of risk mitigation and procedural discipline.
- Each piece of gear is part of a system—for water, food, navigation, or shelter—that must be understood, not just carried.
Recommendation: Before your next trip, audit your skills and gear not against a generic list, but against the specific environmental and regulatory challenges of your exact destination.
Venturing into the Canadian backcountry for a multi-day expedition is a serious undertaking. Many experienced hikers, comfortable with car camping, believe the transition is simply a matter of packing lighter and walking farther. They focus on gear lists, often reciting the “ten essentials” as a mantra. They’re told to “be bear aware” and “dress in layers,” advice so common it has lost its meaning. This approach treats the wilderness as a passive backdrop, assuming that having the right equipment is a guarantee of safety.
This mindset is a critical error. The Canadian wilderness is an active, dynamic environment with specific and often unforgiving challenges, from the silt-heavy glacial streams of the Rockies to the aggressive mosquitos of the Canadian Shield and the stark cold of a Lake Superior squall. Generic advice fails because it lacks context. It doesn’t prepare you for the regulatory nuances of food storage in Banff, the rapid magnetic declination shifts in the North, or the life-or-death reality of the “1-10-1 principle” in cold water.
The true key to survival and success is not found in a packing list, but in a fundamental shift in perspective. This guide is built on a single, uncompromising principle: you must master the technical systems and decision-making frameworks required to neutralize specific threats. We will move beyond what to pack and focus on the professional-level procedures for managing food, purifying water, navigating without fail, and executing emergency protocols. This is not about collecting gear; it’s about developing the proficiency to operate safely and effectively in one of the world’s most demanding environments.
This article details the critical systems and skills you must master. From food storage protocols to advanced navigation and emergency preparedness, the following sections provide a framework for building true backcountry competence.
Summary: Mastering Your Canadian Backcountry Expedition
- Hanging Food vs. Bear Canisters: What Works Best in Canadian Forests?
- Filter or Tabs: The Most Reliable Water Purification for Glacier Streams
- Why You Must Learn to Read a Topo Map Before Entering Algonquin’s Interior
- How to Dig a Cathole: Sanitation Rules in Crown Land Camping
- Spot vs. Garmin inReach: Is the Subscription Cost Worth Your Life?
- The 3 Layers You Must Pack Even for a Summer Mountain Hike
- The “Wet Exit” Drill: What to Do If You Flip in Lake Superior
- Winter Hiking 101: Conquering Snowy Trails Safely
Hanging Food vs. Bear Canisters: What Works Best in Canadian Forests?
Food storage in the backcountry is not just about keeping your supplies safe; it’s a non-negotiable component of wildlife management and human safety. The debate between hanging food and using a bear canister is often framed as a matter of preference, but in Canada, it’s a decision dictated by regulations and environmental reality. The presence of both black bears and approximately 65 grizzly bears in a park like Banff underscores the seriousness of this system. While a well-executed bear hang can be effective, its success is highly dependent on finding the right tree—a challenge in alpine zones or dense, young forests.
Many of Canada’s most popular backcountry areas have removed the element of choice. For instance, bear-resistant food containers are mandatory from April 1 to November 15 in much of Banff, Yoho, and Kootenay National Parks. This is not a suggestion; it’s a requirement for obtaining a permit. A bear canister offers absolute security when used correctly, eliminating the variables of rope, branches, and user error. It also serves as a convenient camp stool.
Your food storage system must be comprehensive. This includes:
- Using a proper bear hang (minimum 4 meters high, 1.5 meters from the trunk) or a regulated container like a canister or Ursack.
- Storing all scented items, including toiletries, sunscreen, and cooking utensils.
- Adhering to the “bear triangle” principle, keeping your cooking, storage, and sleeping areas at least 100 meters apart.
Ultimately, the canister is the superior system in most regulated Canadian mountain parks. It provides certainty in an environment where mistakes have serious consequences.
Filter or Tabs: The Most Reliable Water Purification for Glacier Streams
In the Canadian backcountry, assuming any water source is safe to drink is a dangerous gamble. Waterways can be contaminated with protozoa like Giardia and Cryptosporidium, often from animal waste. The choice of purification method—typically between a filter, chemical tabs, or UV light—is a critical risk-management decision. This isn’t about taste; it’s about meeting a specific standard of safety. In fact, Health Canada mandates that water treatment must achieve at least a 99.9% reduction of Giardia and Cryptosporidium to be considered effective.
The type of water source dictates the best tool. Glacial streams in the Rockies, for example, carry fine rock flour or “silt” that can rapidly clog a hollow-fibre filter. In these conditions, a pre-filter is essential, or a UV treatment system like a SteriPen might be a better primary choice, though it is ineffective in cloudy water. Conversely, in the clear but potentially stagnant beaver ponds of the Canadian Shield, a high-quality filter is extremely effective at removing biological threats.
A multi-tiered system is the most resilient. This often involves a primary method (like a filter) and a backup (like purification tablets). It’s crucial to understand the limitations of each method, especially regarding effectiveness against specific pathogens.
The following table, based on information from health authorities like the BC Centre for Disease Control, breaks down the core options for a Canadian context.
| Method | Effectiveness Against Giardia | Time Required | Best Use Case |
|---|---|---|---|
| Boiling | 100% effective | 1 min at sea level, 2 min above 2,000m | Base camp, winter camping |
| Filter (1 micron) | 99%+ if NSF certified | Immediate | Clear water sources |
| UV Treatment | 99.9% when combined with pre-filtering | 60-90 seconds | Clear water, backup method |
| Chlorine tablets | Moderately resistant | 30+ minutes | Not recommended for Giardia |
Your selection must be an informed choice based on your specific route, water sources, and a realistic assessment of the risks.
Why You Must Learn to Read a Topo Map Before Entering Algonquin’s Interior
In an age of GPS devices and satellite messengers, the skill of reading a topographic map and using a compass is often dismissed as archaic. This is a potentially fatal mistake in the vast Canadian wilderness. Electronic devices can and do fail due to battery loss, water damage, or satellite signal obstruction. A map and compass are your infallible backup system, but only if you possess the proficiency to use them. The interior of a park like Algonquin, with its maze of lakes and portages, can become dangerously disorienting without a fundamental understanding of land navigation.
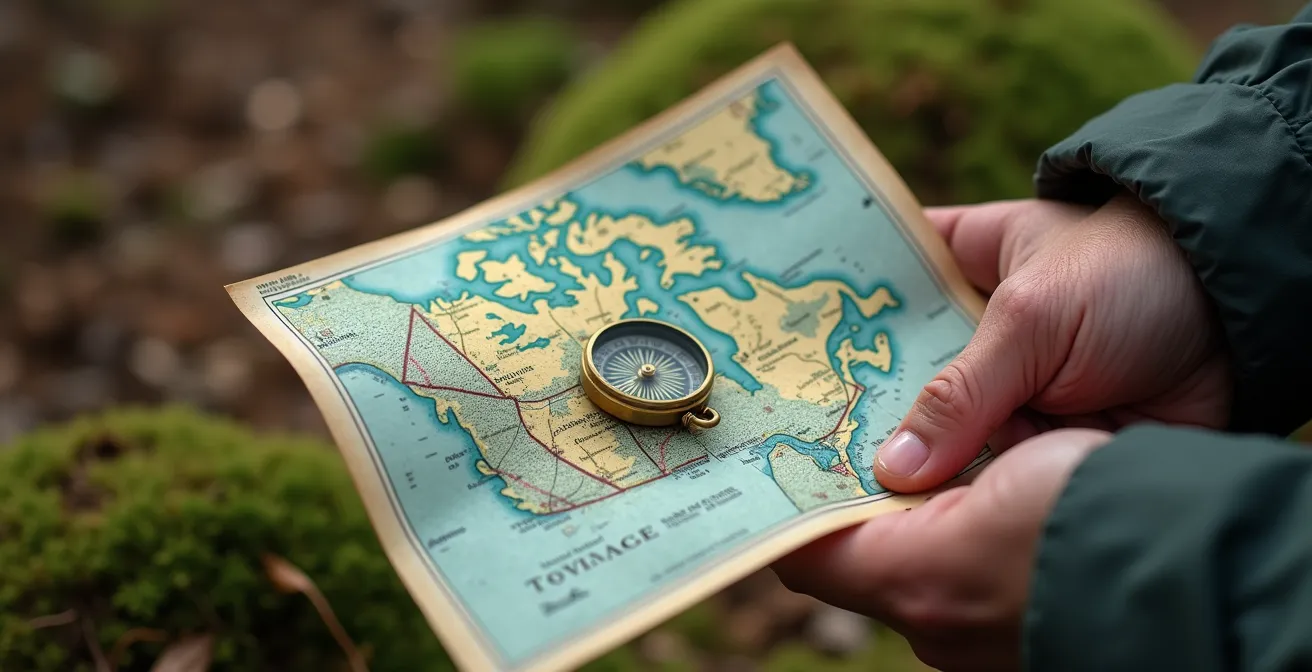
A topo map provides a three-dimensional understanding of the terrain. Contour lines reveal the steepness of a portage trail, the location of cliffs, and the drainage patterns of a watershed—information a simple GPS track cannot convey. This skill allows you to make strategic route decisions, anticipate challenges, and reorient yourself if you become lost. It’s about proactive navigation, not reactive positioning.
Furthermore, navigating in Canada requires an understanding of magnetic declination—the angle between true north and magnetic north. This angle is not constant; it shifts over time and varies significantly across the country. As Natural Resources Canada notes, in some areas magnetic declination is changing by more than 1 degree every 3 years. Failure to properly adjust for declination can set you miles off course over a single day’s travel. This is a technical skill that must be practiced.
Someone on a canoe trip in the NWT would find his or her compass in error by more than 2 degrees on more than 1 day in 4.
– Natural Resources Canada, Geomagnetism – Magnetic Declination
Your GPS is a tool for convenience. Your map and compass are your tools for survival. Before entering the backcountry, you must be able to triangulate your position, follow a bearing, and interpret terrain features from a map as if your life depends on it—because one day, it might.
How to Dig a Cathole: Sanitation Rules in Crown Land Camping
Proper human waste disposal is a cornerstone of Leave No Trace ethics and a critical component of responsible backcountry use in Canada. On high-traffic managed trails, outhouses may be available. However, when venturing into provincial parks, onto Crown Land, or into less-developed areas, you are responsible for your own sanitation. The “cathole” method is the accepted standard, but its execution requires precision to be effective and minimize environmental impact.
The primary goal is to locate waste away from water sources to prevent contamination and to facilitate decomposition. This is a procedural discipline that must be followed every time. A hastily dug or poorly located cathole can pollute waterways, attract animals, and create a health hazard for other users. The rules are not suggestions; they are a protocol for protecting the wild spaces we use. Particularly, all toilet paper must be packed out. It decomposes very slowly, contains chemicals, and is often dug up by animals.
Executing this correctly demonstrates respect for the environment and for fellow adventurers. It’s a simple but vital skill that separates the knowledgeable backcountry user from the novice. Following a strict procedure ensures you meet your ethical and environmental obligations every time.
Action Plan: Proper Backcountry Waste Disposal
- Select a spot at least 70 meters (about 200 feet) from any water source, trail, or campsite to prevent contamination.
- Use a trowel or stick to dig a cathole 15-20 cm (6-8 inches) deep. This depth is optimal for decomposition by soil microorganisms.
- After use, take a stick and thoroughly mix soil with the waste. This significantly speeds up the decomposition process.
- Cover the cathole completely with the original soil, and disguise the area with natural materials like leaves or pine needles to return it to a natural state.
- Pack out all toilet paper and hygiene products in a dedicated, sealed plastic bag. Never bury or attempt to burn it in the wild.
In sensitive alpine, shoreline, or high-use areas, even a cathole may not be sufficient. In these zones, regulations may require the use of WAG bags or other portable toilet systems to pack out all solid human waste.
Spot vs. Garmin inReach: Is the Subscription Cost Worth Your Life?
Carrying a personal locator beacon (PLB) or satellite messenger is becoming standard operating procedure for serious backcountry travel in Canada. These devices provide a critical lifeline to emergency services when you are far beyond cell reception. The choice often comes down to two major players: SPOT and Garmin inReach. The decision is not just about device cost, but a risk mitigation calculus involving subscription fees, coverage, and communication capability. When an SOS is activated in Canada, the signal is routed to a Joint Rescue Coordination Centre (JRCC), which coordinates a response that can take hours. Your device’s capability can make a huge difference during that time.
The most significant technical difference is the satellite network they use. Garmin’s inReach devices operate on the Iridium network, which offers 100% global coverage, including the entire Canadian Arctic. SPOT devices use the Globalstar network, which has known limitations in the far north and can have longer message delivery times. For expeditions north of 60 degrees, or in deep mountain valleys, the Iridium network’s reliability is a major advantage.
The other critical distinction is two-way communication. An inReach allows you to text back and forth with emergency responders. You can describe the nature of your emergency, the condition of the patient, and receive instructions. A SPOT device, in its basic form, is a one-way transmitter. You can send a pre-programmed “I’m OK” message or an undifferentiated SOS signal. You cannot receive a reply. This one-way communication leaves you and your rescuers in the dark.
This comparison highlights the key differences in a life-or-death decision framework.
| Feature | Garmin inReach | SPOT |
|---|---|---|
| Satellite Network | Iridium (100% global) | Globalstar (limited in far north) |
| Two-way messaging | Yes | No (one-way only) |
| Coverage in Canadian Arctic | Complete | Limited above 70°N |
| Basic plan cost (CAD) | ~$20/month | ~$15/month |
| Weather updates | Yes | No |
While the inReach has a higher subscription cost, the ability to communicate specifics during an emergency and its superior coverage make it a more robust safety system for serious, remote Canadian expeditions.
The 3 Layers You Must Pack Even for a Summer Mountain Hike
“Dress in layers” is common advice, but for the Canadian mountains, it’s a critical survival system. A sunny, 20°C day at a trailhead in the Rockies can become a 5°C sleet storm at a high pass within an hour. Your clothing is your primary shelter against hypothermia. The three-layer system is not about piling on clothes; it’s a dynamic framework for managing moisture, retaining heat, and protecting yourself from wind and rain.
Each layer has a specific function, and the material is as important as the layer itself. The system fails if the wrong material is used. Cotton, for example, absorbs moisture and loses all insulating properties when wet, making it extremely dangerous in the backcountry. Your life depends on technical fabrics that perform under pressure.
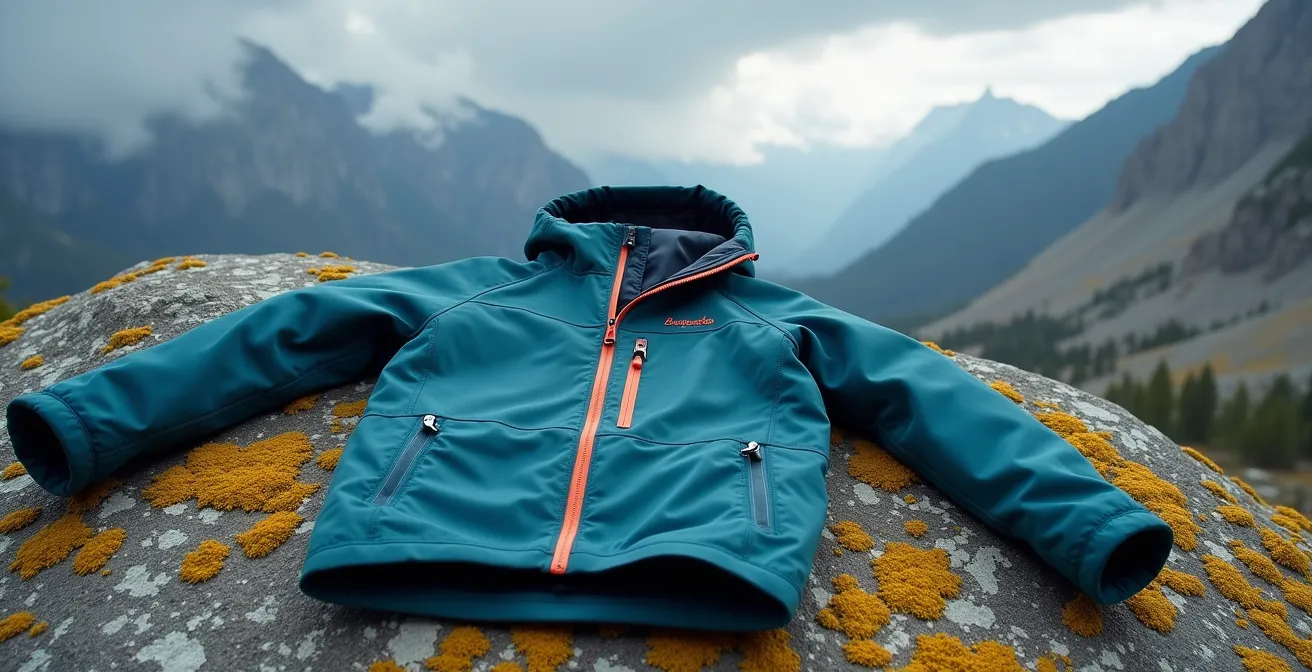
The system is comprised of three core components working in concert:
- Base Layer: Its only job is to wick moisture away from your skin. It should be made of merino wool or a synthetic material like polyester. Keeping your skin dry is the first step in preventing heat loss.
- Insulation Layer: This is your warmth layer. Its job is to trap air heated by your body. Fleece jackets or lightweight down/synthetic-puffy jackets are ideal. This layer is added or removed as your activity level or the temperature changes.
- Shell Layer: This is your protection from the elements. A waterproof-breathable jacket (and pants) is essential to block wind and rain while allowing some moisture from your inner layers to escape. It is your primary defense against convective heat loss.
For many parts of Canada, a fourth unofficial layer is non-negotiable: a full bug jacket and head net. In the boreal forest or Canadian Shield during blackfly and mosquito season, this is as crucial for sanity and safety as a rain jacket. Always carry these three (or four) layers, even on a perfect summer day. The mountains generate their own weather, and being prepared is not optional.
The “Wet Exit” Drill: What to Do If You Flip in Lake Superior
Paddling on Canada’s great lakes, especially Lake Superior, is a world-class experience. It is also an environment of profound risk. The greatest immediate threat is not bears or getting lost, but the water itself. Even in mid-summer, the water is shockingly cold. In fact, Lake Superior’s water rarely exceeds 12°C even in August. An unexpected capsize—a “wet exit”—plunges you into a situation where you have minutes, not hours, to save your own life.
Your body’s response to sudden cold water immersion is violent and predictable. The first stage is the cold shock response, an involuntary gasp for air followed by hyperventilation. If your head is underwater, this can lead to immediate drowning. This is why a properly fitted life jacket (PFD) is absolutely mandatory. It keeps your head above water during this critical first minute.
Surviving this initial shock is only the first step. You then enter a race against time before hypothermia incapacitates you. This is governed by a critical survival rule you must commit to memory.
The 1-10-1 principle: one minute of cold shock gasp reflex, ten minutes of meaningful movement, and one hour before unconsciousness due to hypothermia.
– Canadian Red Cross, Cold Water Survival Guidelines
This principle dictates your actions. You have about ten minutes of effective muscle function to execute a self-rescue or get back in your boat before your limbs become too cold and weak to work. This is why practicing your wet exit and re-entry drills in a controlled environment is not just a good idea—it is an essential survival skill. You must be able to perform these actions automatically, under extreme stress. Relying on a dry bag with warm clothes is useless if you are unable to get out of the water to use them.
Key Takeaways
- Your safety is determined by your mastery of systems (food, water, navigation), not by a simple gear checklist.
- Every decision, from choosing a water filter to a satellite messenger, is a risk mitigation calculation specific to your environment.
- Procedural discipline, like practicing wet exits and following sanitation rules, is more critical than any piece of gear.
Winter Hiking 101: Conquering Snowy Trails Safely
Winter backcountry travel represents the ultimate test of your systems and discipline. The margin for error shrinks to zero. A gear failure, a navigation mistake, or a minor injury that would be an inconvenience in summer can quickly become a life-threatening emergency. The cold acts as a constant drain on your energy and a multiplier for every risk. Success in winter requires a shift to an even more conservative and disciplined mindset, where turnaround times are non-negotiable and preparation is exhaustive.
The most significant new hazard is avalanches. Before entering any mountainous terrain in winter, checking the latest bulletins from Avalanche Canada is mandatory. If you plan to travel in avalanche terrain, you must have the proper training (AST 1 minimum) and equipment (transceiver, shovel, probe). However, even on simple forest trails, winter presents unique challenges. Daylight is short, requiring an early start and a strict, pre-determined turnaround time (e.g., 1 PM) to ensure you are out before dark. Batteries in electronics die faster in the cold, necessitating lithium batteries for headlamps and keeping devices warm.
Your layering and emergency systems are more critical than ever. An emergency bivvy and insulated sleeping pad are no longer just for overnight trips; they are essential day-pack items for survival if you become immobilized. A thermos of hot, sugary liquid is a powerful tool for preventing or reversing mild hypothermia. Your choice of traction—microspikes for icy trails, snowshoes for deep powder—must be appropriate for the day’s specific conditions. Winter hiking is a culmination of all your backcountry skills, applied in the most unforgiving classroom.
- Check Avalanche Canada bulletins before entering any mountain terrain.
- Set a non-negotiable turnaround time (typically 1 PM in winter).
- Carry multiple headlamps with cold-rated lithium batteries.
- Pack an emergency bivvy and insulated sleeping pad in your day pack.
- Bring a thermos with hot sugary drinks as a hypothermia prevention tool.
- Use appropriate traction: microspikes for icy trails, snowshoes for deep snow.
To truly prepare, you must now apply this systematic thinking to your own gear and trip plans. Audit your skills, identify the specific threats of your next destination, and build the robust systems required to operate with confidence and safety.